A rogue WordPress administrator account gives an intruder nearly unrestricted control of a website. It can install plugins, alter themes, create more users, change settings, inject redirects and hide long-term access. Because the account can resemble a legitimate employee or agency login, it may survive for weeks after the first visible problem is fixed.
The right response is not simply to click Delete. Preserve evidence, confirm who owns each privileged account, contain suspicious access, remove persistence, rotate credentials and repair the vulnerability that made the account possible.
What counts as a rogue administrator?
A rogue administrator is any account with administrator privileges that the site owner has not explicitly approved. It may have an unfamiliar username, a disposable email address or a recent registration date. More sophisticated attackers choose names such as support, webmaster, system or a slight variation of a real team member.
A legitimate account can also become rogue when its password, email inbox, application password or active session is stolen. In that case the username is familiar, but the activity is not.
Warning signs to investigate
- An administrator nobody on the team recognizes.
- A familiar username with an unexpected email address or password reset.
- A new administrator created shortly before redirects, spam pages or plugin changes appeared.
- Users that appear through a command-line or database check but not in the normal dashboard.
- Accounts that return after deletion or role reduction.
- Unexplained application passwords, login sessions, profile changes or security-plugin exclusions.
An unauthorized administrator often appears alongside other compromise indicators. Use 10 signs your WordPress site has been hacked to widen the investigation beyond the Users screen.
Step 1: preserve evidence before changing the account
Record the username, user ID, email address, registration date, role, profile fields and any linked application passwords. Save relevant authentication, audit, hosting and web server logs. Note recent plugin installations, theme edits, option changes and content revisions associated with the account.
Take a complete database and file backup and store it outside the public server. Evidence can help identify the initial access path, determine whether customer information was exposed and show whether the attacker used more than one account.
Step 2: confirm account ownership
Build an approved administrator list with the business owner. Verify every account through a separate communication channel—not by emailing the address listed on the suspicious profile. Include employees, contractors, maintenance providers, hosting support and automated integrations that genuinely require access.
Ask three questions for each administrator: Who owns it? Why does it need administrator privileges? When was it last intentionally used? An account with no current owner or business purpose should not retain the highest role.
Step 3: review administrators in the WordPress dashboard
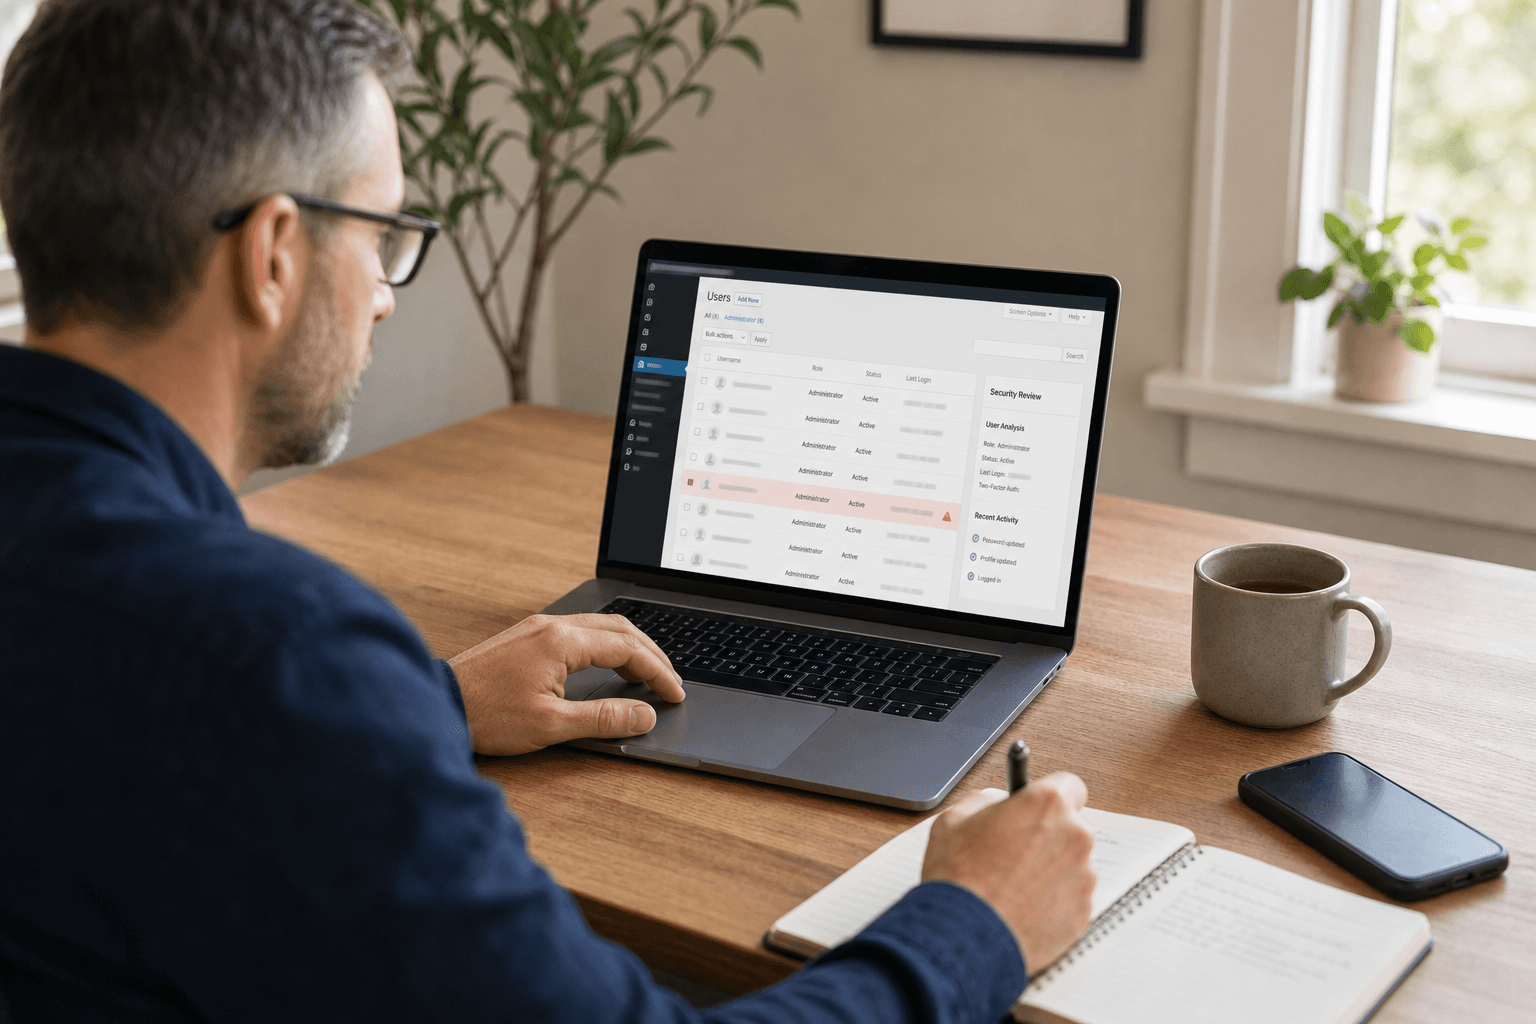
Open Users and filter by Administrator. Compare usernames, emails, registration dates and profile details with the approved list. Review recently modified posts, pages, plugins and settings. Security or audit logs may show login IPs, user-agent patterns and actions, but remember that attackers can clear local logs.
If you suspect a live intruder, restrict access or place the site into a controlled maintenance state before notifying the account through WordPress. A warning can prompt the attacker to create another backdoor.
Step 4: check outside the dashboard
The dashboard is only one view of the data. On a trusted server session, an authorized administrator can use WP-CLI to list users with the administrator role and compare IDs, usernames, emails and registration dates. A careful database review can confirm entries in the users table and administrator capabilities in user meta.
Do not run unverified SQL statements against production. Prefixes may differ, multisite roles are more complex, and a mistaken edit can lock out legitimate owners. Work from a backup or staging copy and document every change.
Step 5: look for concealed or self-recreating accounts
Malware can filter the Users screen, alter user counts or recreate a deleted administrator. Inspect must-use plugins, active and inactive plugins, theme functions, custom snippets, cron events, the uploads directory and recently modified PHP files. Search trusted copies rather than relying only on a security plugin’s dashboard.
Check the hosting account, database users, SFTP or SSH keys, deployment tokens and neighboring WordPress installations. If the attacker controls the server or database, removing a WordPress user does not remove their access.
Step 6: contain the suspicious account
When evidence is preserved, block the account’s ability to act. Depending on the incident and available tooling, that may mean reducing its role, forcing logout, resetting credentials from a trusted device, or disabling access at the application or server layer. Preserve the original record in your incident notes.
If the suspicious account imitates a real administrator, secure the legitimate person’s email and device too. Otherwise a password reset can be intercepted and the attacker may immediately regain access.
Step 7: decide what to do with its content
Before deleting an account, review all content attributed to it. Reassign only verified legitimate pages, posts and media to an approved owner. Quarantine or remove injected spam, scripts, redirects and SEO modifications. Blind reassignment can preserve malicious content; blind deletion can destroy valid work.
For ecommerce, membership or learning sites, also review orders, customer records, roles and integration settings changed during the suspicious period.
Step 8: remove the account and all persistence
Delete or permanently disable the unauthorized administrator after evidence and content have been handled. Then remove associated application passwords, sessions, API tokens and scheduled actions. Examine the site for backdoors, file modifications, database injections and malicious plugins that could restore access.
If the account is part of an active compromise, follow a complete hacked WordPress recovery process or use our Emergency Hacked WordPress Recovery service rather than treating user deletion as the finish line.
Step 9: rotate privileged credentials
Reset every administrator password from trusted devices, update WordPress salts to invalidate login cookies, and rotate hosting, database, SFTP, SSH, deployment and API credentials that may have been exposed. Revoke unknown integrations and review recovery email addresses.
Use unique passwords stored in a password manager. Enable multi-factor authentication for WordPress, hosting, domain and email accounts. Where possible, remove daily-use administrator privileges and create separate lower-privilege editorial accounts.
Step 10: identify and patch the entry point
Determine whether the administrator was created through a vulnerable plugin, a stolen password, an exposed hosting panel, a compromised developer machine, direct database access or another infected site on the account. Patch, replace or remove the vulnerable component. Update WordPress core, themes and plugins from trusted sources.
Review the control gaps in common WordPress security mistakes and apply the practical hardening steps in How to Secure a WordPress Site.
Step 11: verify and monitor
After remediation, compare the administrator list with the approved inventory again. Check that no unknown sessions, application passwords, cron events or hosting users remain. Monitor new-user creation, role changes, plugin installations, file modifications and unusual logins.
Keep an incident timeline and schedule follow-up checks after one day, one week and one month. If the account or related malware returns, isolate the site and reassess server-level and neighboring-site access.
A safer administrator policy
- Give administrator access only when a task genuinely requires it.
- Use named accounts instead of shared admin credentials.
- Remove former staff and vendors promptly.
- Require multi-factor authentication and unique passwords.
- Review privileged users and application passwords every month.
- Keep off-site backups and test full restoration.
- Log user creation, role changes, plugin changes and authentication events.
For ongoing controls, see Advanced WordPress Security and WordPress Maintenance. Our WordPress security recovery portfolio shows the broader cleanup and hardening approach used after a compromise.
Frequently asked questions
What is a rogue WordPress administrator account?
A rogue administrator is an account with full WordPress privileges that was created, promoted or taken over without authorization. It may look obviously fake or imitate a legitimate employee, agency or system account.
How do attackers create hidden WordPress administrators?
Attackers may use a stolen login, vulnerable plugin, malicious file, direct database access, compromised hosting panel or scheduled persistence code. Some infections recreate the account after deletion or conceal it from the normal Users screen.
Is deleting a suspicious administrator enough?
No. Deletion removes one access path but does not remove stolen credentials, active sessions, backdoors, malicious scheduled tasks or the vulnerability that created the account. Treat the account as evidence of a broader compromise.
Should I reassign content before deleting a rogue administrator?
Reassign content only after verifying that the posts, pages and media are legitimate. Blindly reassigning malicious content preserves it, while deleting all content without review can remove valid business material.
How can I check administrators outside the WordPress dashboard?
An authorized administrator can review users with WP-CLI and inspect the WordPress users and user-meta tables through a trusted database tool. Take a backup first, compare account roles carefully and avoid destructive database edits without a tested rollback plan.
How can I prevent unauthorized administrators from returning?
Remove persistence, patch vulnerable software, rotate privileged credentials, invalidate sessions, enable multi-factor authentication, limit administrator accounts, monitor user changes and maintain tested off-site backups.
Final account-removal checklist
- Preserve user details, logs and a complete backup.
- Confirm every approved administrator through a separate channel.
- Check the dashboard, command line, database and hosting account.
- Contain the suspicious account and review its content.
- Remove the account, application passwords, sessions and persistence.
- Rotate credentials, invalidate cookies and enable multi-factor authentication.
- Patch the entry point and monitor administrator changes.