Removing malicious code is the midpoint of WordPress incident recovery, not the finish line. A site can look clean while the attacker still controls an administrator account, an API key, a hosting login, or a scheduled task that will recreate the infection.
Hardening turns a cleanup into a defensible recovery. The sequence below closes the known entry point, reduces unnecessary access, restores trusted software, and adds monitoring that can reveal a failed assumption quickly.
1. Preserve evidence and confirm scope
Before replacing everything, preserve a copy of the compromised files, database, and relevant logs. Record the earliest known symptom and all affected domains. Check whether staging sites, subdomains, email accounts, or other WordPress installations share the same credentials or server.
If the incident is still active, follow Hacked WordPress Site? Emergency Recovery Steps to contain it before beginning the hardening work.
2. Establish a trusted codebase
Replace WordPress core, plugins, and themes with fresh packages from trusted sources. Remove inactive components and old copies of the site. Review custom code separately; do not assume that a file is safe because it belongs to a custom plugin.
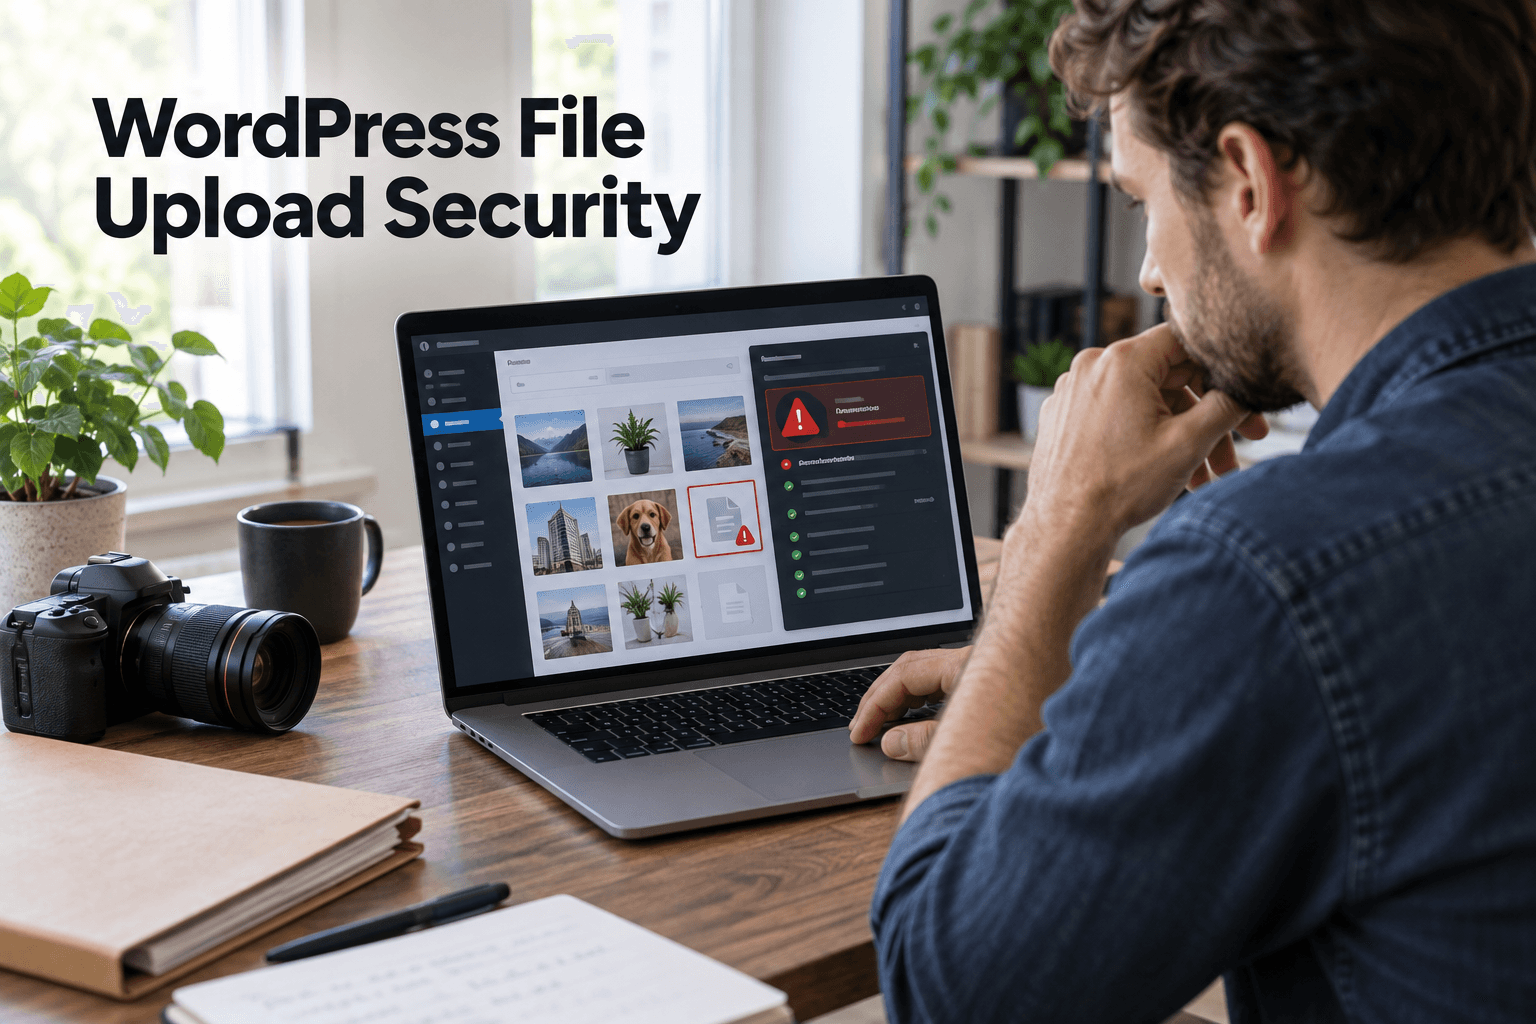
Inspect uploads for executable files and compare server configuration with a clean baseline. If the compromise affected multiple accounts or the operating system, rebuilding on a new environment may be safer than repairing in place.
Use the manual indicators in WordPress Backdoor: How to Find and Remove Hidden Malware when obfuscated code, unfamiliar loaders, or modified configuration files appear.
3. Remove persistence
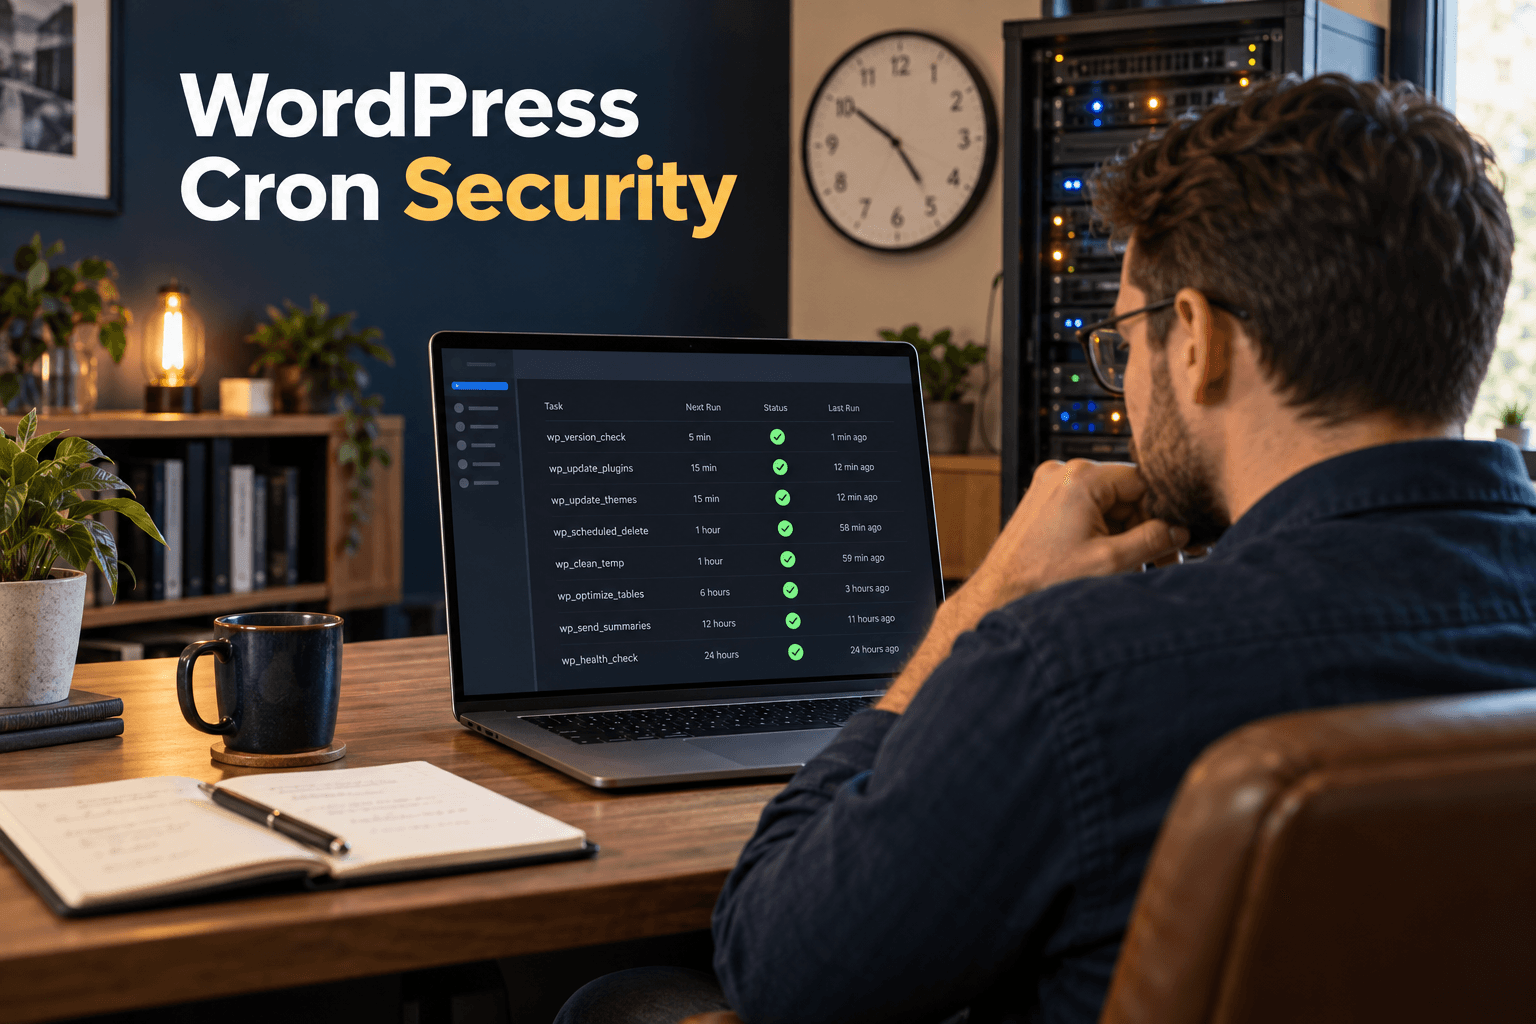
Delete rogue administrators, revoke unknown application passwords and API tokens, review scheduled tasks, inspect must-use plugins, and check server-level startup jobs where access permits. Search the database for injected scripts and hidden links. Persistence can exist outside ordinary plugin folders.
4. Close the original entry point
Update or replace the vulnerable component, correct unsafe permissions, patch the server, and remove abandoned software. If logs show stolen credentials, improve authentication and investigate the device or integration that exposed them. Without this step, a clean site can be compromised again immediately.
The WordPress malware reinfection guide describes nine common reasons cleanup fails and provides a useful root-cause checklist.
5. Rotate credentials and secrets
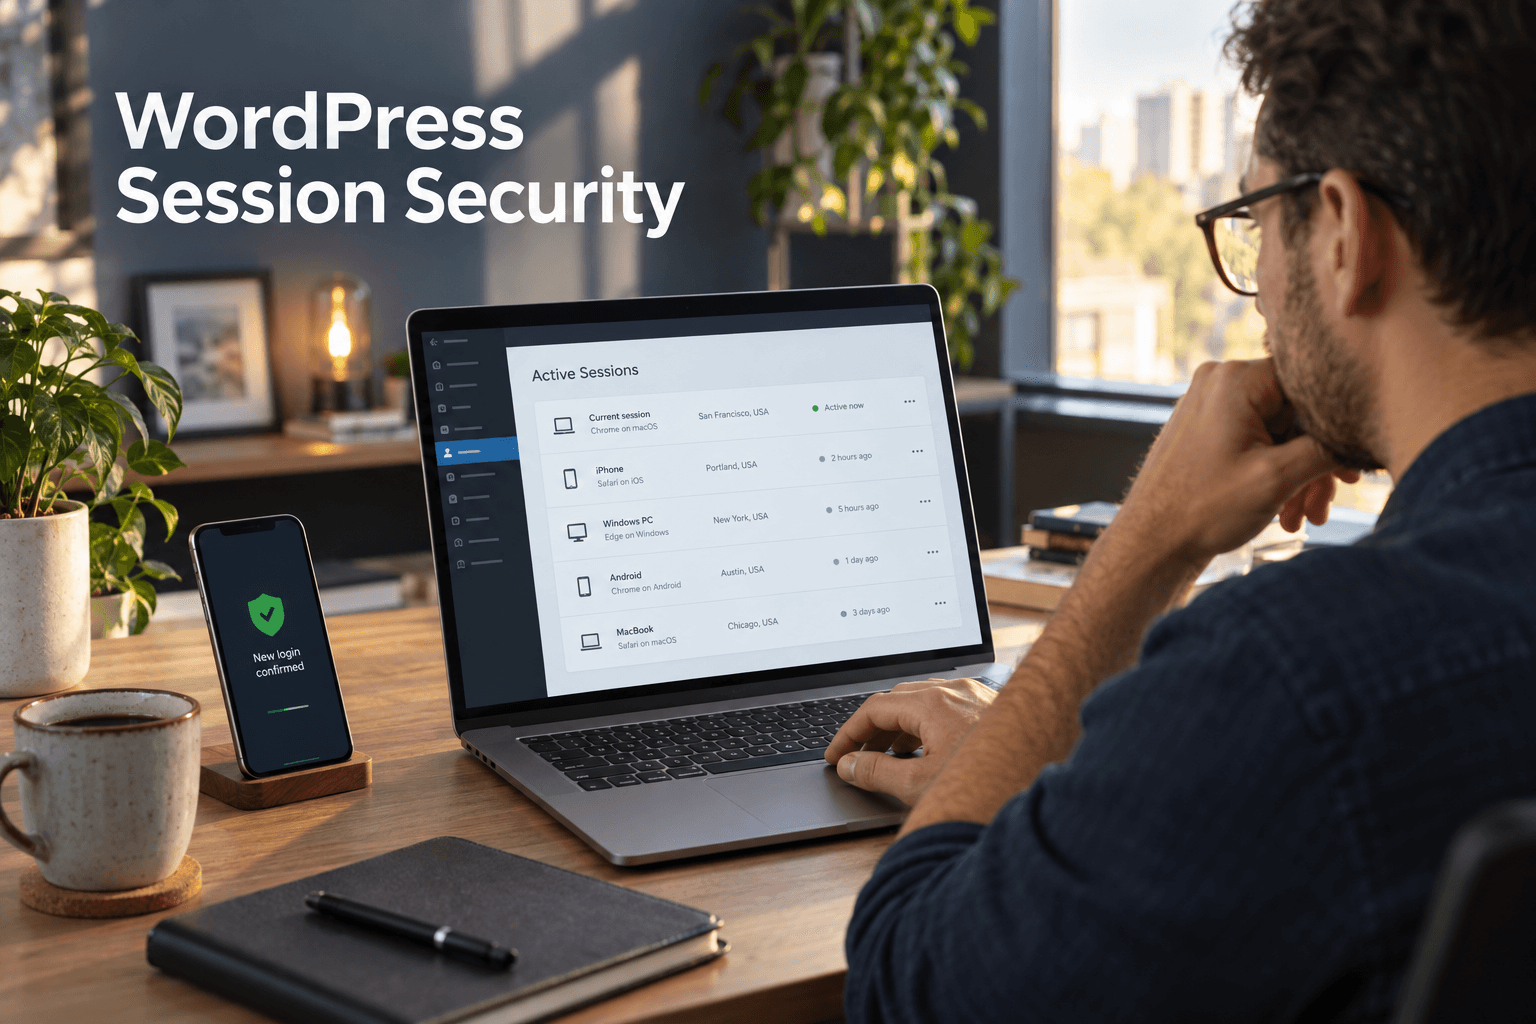
Change hosting, SSH or SFTP, database, WordPress administrator, CDN, DNS, email, and integration credentials from a known-clean device. Regenerate WordPress security salts so existing sessions are invalidated. Give every person an individual account and enable multi-factor authentication wherever available.
6. Reduce access and attack surface
- Keep only maintained plugins and themes that the site needs.
- Use least-privilege roles; reserve administrator access for administrative work.
- Correct file ownership and permissions instead of using world-writable paths.
- Disable unused interfaces and remote access methods.
- Protect login and administrative endpoints with rate limiting and strong authentication.
- Separate production, staging, and backup credentials.
Premier Sol’s can add layered protection, monitoring, and a hardening baseline tailored to the hosting environment.
7. Build reliable backup and update routines
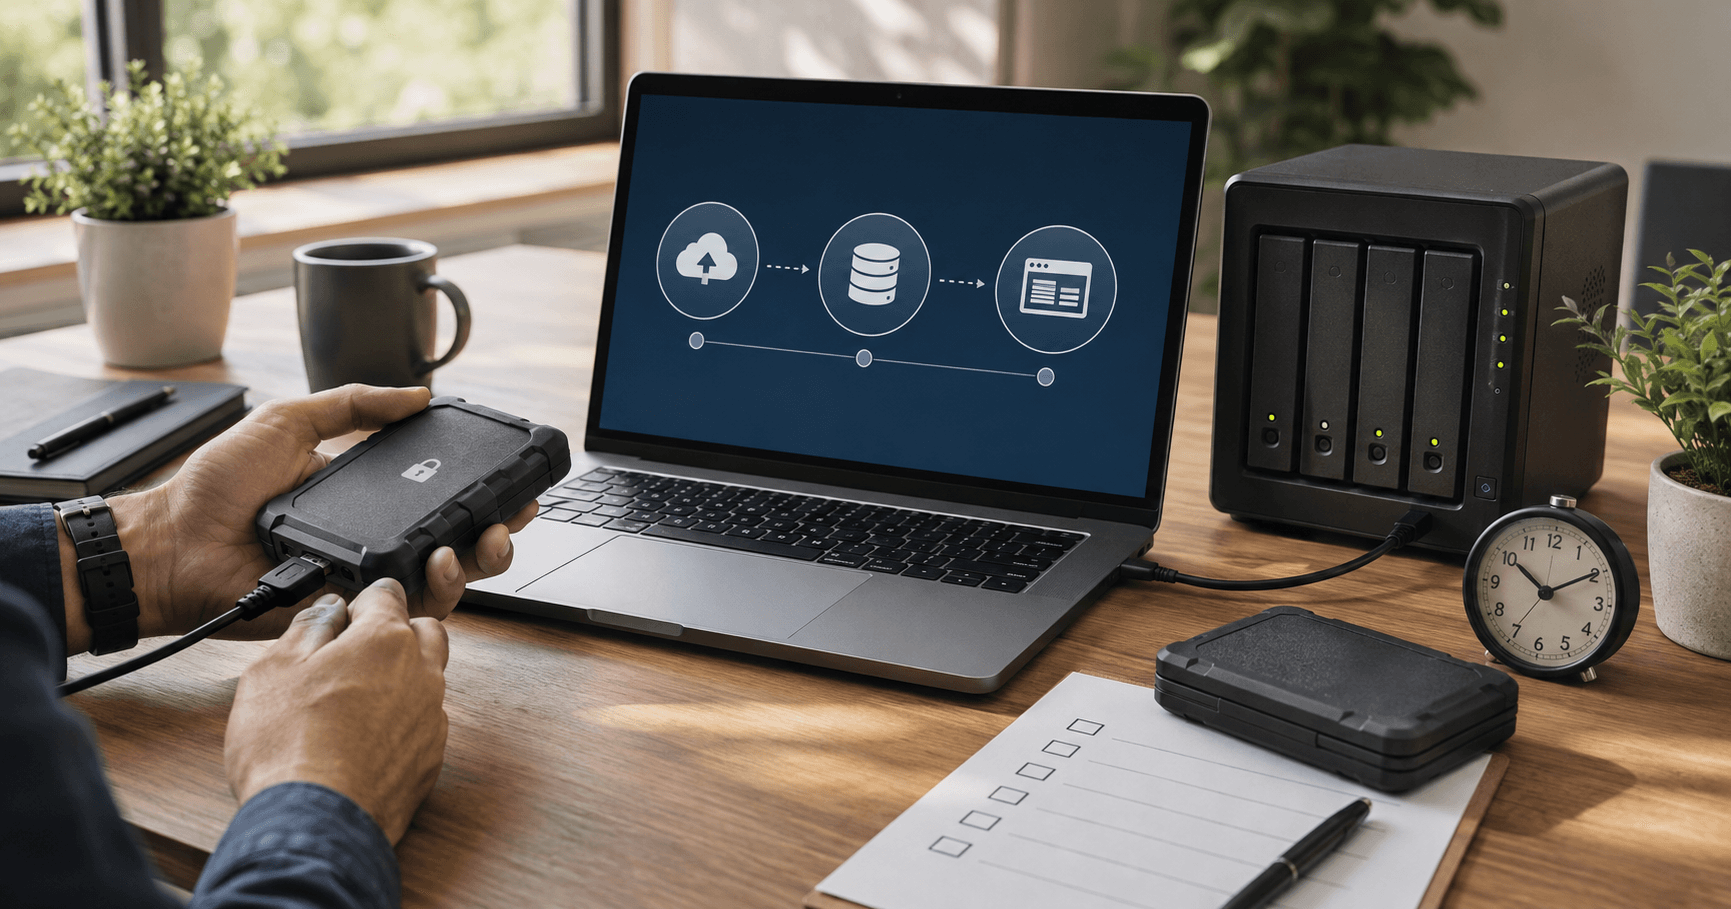
Create a new known-good backup only after the site passes verification. Keep isolated recovery points from before and after the incident until the investigation is complete. Test a restore in staging, document the process, and assign responsibility for updates.
Ongoing reduce the gap between a security release and installation while keeping backup and monitoring work visible.
8. Verify from inside and outside
Run server-side and remote scans, test pages from different devices, inspect search results and analytics for spam URLs, and verify forms, checkout, email, and user accounts. Check that the website is not sending unsolicited email or contacting unfamiliar external hosts.
9. Monitor for recurrence
Watch file changes, administrator logins, failed authentication, scheduled jobs, outgoing requests, resource use, and search-console warnings. Establish a clean baseline so future changes are easier to investigate. Alerts should lead to an owner and a response step, not an ignored inbox.
Complete the after hardening and repeat the most important checks on a fixed schedule.
When to bring in a specialist
Professional response is appropriate when the site processes payments or personal data, malware returns, several sites share the account, logs are incomplete, or the business cannot tolerate another outage. Independent verification is also valuable when the original cleanup was automated.
Premier Sol’s service covers investigation, cleanup, remediation, and post-recovery protection. Review the
Review the for a practical example of the full process.
Preguntas frecuentes
Is a WordPress site safe after malware files are deleted?
Not necessarily. The attacker may still have credentials, a hidden administrator, a scheduled reinfection task, or access through an unpatched plugin. Cleanup must be followed by verification and hardening.
Which passwords should be changed after a WordPress hack?
Rotate WordPress administrator, hosting, SFTP or SSH, database, CDN, DNS, email, and connected service credentials that could have been exposed. Change them from a known-clean device.
Should I reinstall WordPress after a malware infection?
Replacing core, plugins, and themes with trusted packages is often safer than editing infected files individually. User content and custom code still require careful review, and the entry point must be fixed.
How long should I monitor a cleaned WordPress site?
Use intensive monitoring for at least several weeks and continue routine file-integrity, login, uptime, and vulnerability monitoring afterward. The right period depends on the incident and business risk.