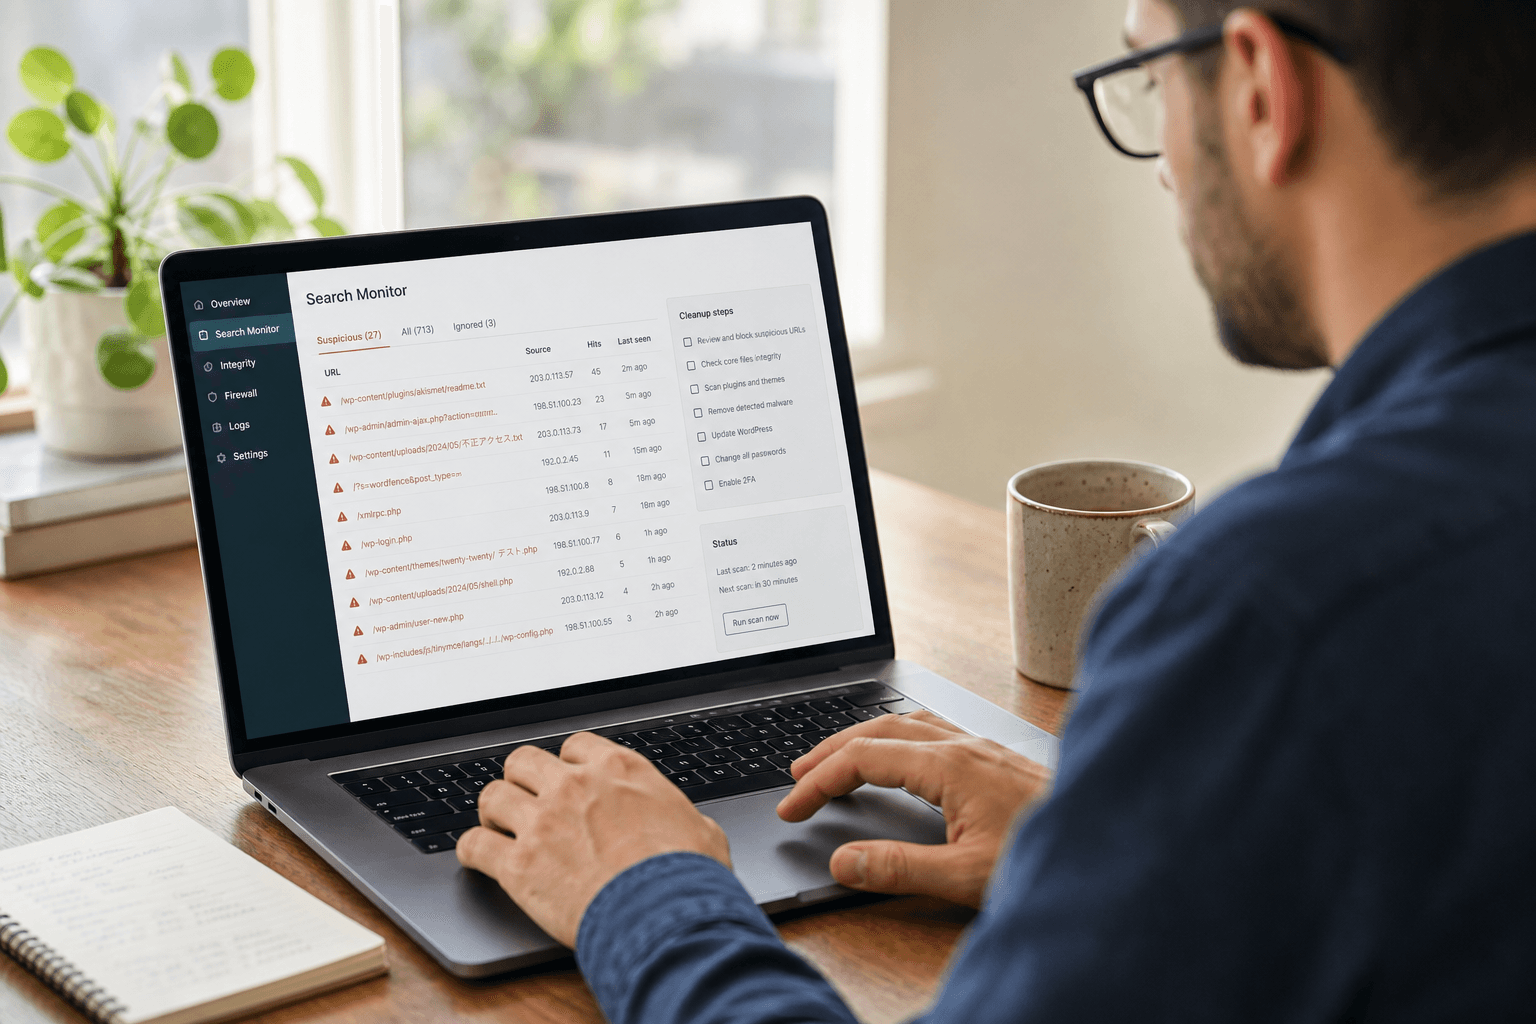
A Japanese keyword hack can turn a legitimate WordPress site into a search engine doorway for counterfeit products, gambling pages or unrelated offers. The first visible clue may be Japanese titles in Google, unfamiliar URLs in Search Console, or search results that redirect while the website looks normal when opened directly.
Treat that as an active security incident, not a simple SEO problem. The safest recovery sequence is to contain the site, preserve evidence, remove every persistence mechanism, close the entry point and then guide search engines back to the clean version. If you are still confirming the scope, compare your symptoms with these common signs of a hacked WordPress site before making changes.
What the Japanese keyword hack does
This attack abuses the trust and crawl history of an established domain. Malicious code generates spam pages or modifies titles, descriptions, canonical tags, sitemaps and internal links. Some infections use cloaking: Googlebot or search visitors see the spam, while the site owner sees an ordinary page.
Common symptoms include:
- Japanese titles or descriptions appearing for your domain in Google.
- Thousands of unfamiliar URLs in Search Console, often under fake product, brand or category paths.
- New XML sitemaps, rewrite rules or template files that you did not create.
- Visitors being redirected from search results while direct visits appear normal.
- Unknown WordPress administrators, scheduled tasks, plugins or PHP files.
- A sudden rise in indexed pages followed by falling rankings for legitimate services.
Before cleanup: contain the incident and preserve evidence
Do not begin by randomly deleting files. A rushed cleanup can destroy useful evidence, break the live site and still leave the attacker’s access intact. Record when the issue was discovered, capture suspicious URLs and users, export relevant server and security logs, and take a complete snapshot of files and the database. Store that snapshot away from the public server and do not use it as a production backup until it has been examined.
If redirects, malware downloads or payment risks are active, place the site in a controlled maintenance state or restrict public access while you investigate. Keep one secure administrative channel available. Coordinate with the host before changing DNS or wiping the account, because server-level logs can explain how the breach happened.
Step 1: confirm the full scope
Review the problem from more than one angle. Check Google Search Console for indexed spam paths, unexpected sitemaps, manual actions and security warnings. Search Google with a site query and representative Japanese or product terms. Then inspect the site as a normal visitor, a search visitor and—where appropriate—as a crawler. Differences can reveal cloaking.
Inside WordPress, inspect administrator accounts, active and inactive plugins, themes, media uploads, scheduled jobs and recent changes. On the server, review core directories, the uploads folder, must-use plugins, configuration files and web server rewrite rules. A structured response follows the same principles in our .
Step 2: identify how the spam is being generated
Spam URLs may exist as database posts, injected options, compromised templates or dynamically generated responses. Search a copy of the database for representative spam titles, domains and paths. Compare WordPress core files against a trusted release, and compare commercial themes or plugins against clean vendor packages. Pay special attention to recently modified PHP files, obfuscated code, unexpected include statements, web-accessible upload scripts and code that changes its output by user agent or referrer.
Also check outside the normal WordPress directories. Attackers may modify the root index file, server configuration, cron jobs, sibling sites under the same hosting account or control-panel users. If several websites share one account, assume the compromise may cross site boundaries until proven otherwise.
Step 3: remove malicious content and persistence
Remove confirmed malicious files, injected database records, rogue administrators, unauthorized application passwords, hidden scheduled tasks and hostile rewrite rules. Replace modified WordPress core, plugin and theme files with fresh packages from trusted sources. Do not keep abandoned or nulled extensions simply because they are inactive; vulnerable code can sometimes be reached directly.
For each deletion, understand what legitimate function the file or record should provide. When confidence is low, quarantine a copy outside the web root and test in staging. Avoid broad search-and-replace operations against the production database unless you have a tested rollback plan.
Step 4: close the original entry point
A clean site will be reinfected if the cause remains. Investigate outdated plugins or themes, exposed control panels, weak or reused passwords, leaked deployment keys, insecure file permissions, compromised developer devices and neighboring sites. Patch or remove vulnerable software and verify that every remaining extension has a maintained source.
This is also the moment to address the recurring weaknesses described in . Cleaning malware without correcting access control, updates and backup practices only resets the clock.
Step 5: rotate credentials and invalidate sessions
Change WordPress administrator passwords, hosting and control-panel credentials, SFTP or SSH keys, database passwords, API tokens and deployment secrets that could have been exposed. Use unique credentials and multi-factor authentication wherever available. Update the WordPress salts so existing login cookies are invalidated, and revoke unknown application passwords or integrations.
Do the rotation from a trusted device. If an administrator’s computer or browser profile is compromised, a new password entered on that device may be stolen again.
Step 6: verify the clean build
Test the recovered site in staging before reopening it. Crawl representative pages, check mobile and desktop templates, submit forms, review logs and rescan files. Confirm that spam paths no longer return a successful page. Legitimately nonexistent URLs should normally return a true 404 or 410 response rather than redirecting every request to the homepage.
Monitor file hashes, administrator accounts, scheduled tasks and outbound connections after launch. A quiet period is useful, but absence of visible spam does not prove the entry point is closed.
Step 7: repair Google Search visibility
Only begin search cleanup after the website is technically clean. Remove attacker-created sitemaps and submit the correct sitemap. Inspect a sample of legitimate and spam URLs in Search Console. Request recrawling for important clean pages, and use the Removals tool only when urgent spam results need temporary hiding. It is not a substitute for returning the correct status code.
If Google reports a manual action or security issue, complete the relevant review request with a concise explanation of what was compromised, what was removed and what controls were added. Do not claim the site is clean until independent checks support that statement.
How long recovery takes
Technical cleanup may take hours or several days depending on the hosting setup, number of sites and level of persistence. Search recovery is slower because Google controls recrawling and deindexing. Once spam URLs consistently return 404 or 410 and internal signals point to legitimate content, the index should gradually improve, but there is no guaranteed date.
Track indexed spam URLs, impressions for irrelevant Japanese queries, coverage reports, crawl activity and rankings for core service pages. Judge progress by the trend over several weeks, not a single daily snapshot.
Preventing reinfection
A durable security baseline combines updates, least-privilege access, monitoring, tested backups and a properly configured edge or application firewall. Our guide to explains that baseline, while the helps clarify the different jobs those layers perform.
- Update WordPress core, plugins and themes promptly after testing.
- Remove unused themes, plugins, accounts, staging sites and access keys.
- Require unique passwords and multi-factor authentication for privileged users.
- Separate client sites and environments where possible.
- Keep automated off-site backups and test restoration regularly.
- Monitor file changes, login anomalies, new administrators and scheduled tasks.
For sites that need a professional incident response, use our . For ongoing protection, review and . You can also see how the process is applied in our .
Frequently asked questions
What is the Japanese keyword hack?
The Japanese keyword hack is a WordPress compromise that creates or injects spam pages, titles and links—often promoting counterfeit goods—in Japanese. Attackers use the infected site’s reputation to get those pages indexed in search results.
Why does a hacked site create so many spam URLs?
Attackers commonly use scripts, database injections, rewrite rules or dynamically generated templates to create thousands of URL variations. The pages may appear only to search crawlers or visitors from search engines, which makes the infection harder to spot.
Is deleting the Japanese spam pages enough?
No. Deleting visible spam URLs without removing the backdoor, malicious administrator, scheduled task or vulnerable plugin usually leads to reinfection. Clean the site, identify the entry point, rotate credentials and harden WordPress as one recovery process.
How long does it take Google to remove Japanese spam URLs?
After the site is clean and the unwanted URLs return the correct 404 or 410 response, Google must recrawl them. Temporary removals can hide urgent results faster, but complete deindexing may take days or weeks and cannot be guaranteed on a fixed schedule.
Can I recover from the Japanese keyword hack with a backup?
A known-clean backup can accelerate recovery, but only if it predates the compromise and you also close the original entry point. Restoring an infected backup or leaving stolen credentials unchanged can put the site back at risk.
How can I prevent the hack from returning?
Keep WordPress core, themes and plugins updated; remove unused software; use unique passwords and multi-factor authentication; restrict administrator access; monitor file changes and users; maintain tested backups; and add an appropriately configured security layer.
Final recovery checklist
- Contain the compromised site and preserve evidence before changing it.
- Find every spam generator, backdoor, rogue account and scheduled persistence mechanism.
- Replace compromised software with trusted copies and remove abandoned components.
- Patch the entry point, rotate credentials and invalidate active sessions.
- Verify clean behavior, correct status codes and normal site functionality.
- Repair Search Console signals and monitor the index until spam URLs decline.