If you have read our Introduction to Anthropic’s Cowork Tool, you know that the era of the passive chatbot is ending. We are entering the age of the agent. The release of the Anthropic Cowork tool has promised to bring the power of autonomous computing to non-technical users, but promises are one thing—execution is another.
For many, the idea of letting an AI control their mouse or delete files is terrifying. For others, the interface is just new enough to be confusing. You might be asking, "How do I actually set this up?" or "Is it safe to give it access to my Documents folder?"
This guide is your manual. We will move beyond the theory and dive into the practical application. By the end of this post, you will understand exactly how to use Claude Cowork to automate the mundane parts of your digital life, from organizing messy downloads to synthesizing complex research.
Prerequisites: Before You Start
Before we dive into how to use Claude Cowork, you need to ensure you have the right hardware and access level. As of the January 2026 research preview, the barriers to entry are high.
- A Mac Computer: Currently, Cowork is macOS specific. Windows and Linux support are on the roadmap but not yet available.
- Claude Max Subscription: You need an active subscription to the Claude Max plan (approx. $100-$200/month). Standard Pro users are currently waitlisted.
- Claude Desktop App: Cowork does not run in the browser. You must download the latest version of the Claude Desktop App from Anthropic’s website.
Once you have these three boxes checked, you are ready to learn how to use Claude Cowork.
Step 1: Accessing the Cowork Interface
The first step in learning how to use Claude Cowork is navigating the new interface.
- Open the Claude Desktop App.
- Look at the sidebar on the left. You will see a new tab labeled "Cowork" (distinguishable by a folder icon) sitting below the standard "Chat" bubble.
- Click the Cowork tab.
You will notice the interface looks slightly different from standard chat. The input box is larger, and there is a prominent button labeled "Add Folder to Workspace." This is the most critical difference when learning how to use Claude Cowork: it requires a local environment to function.
Step 2: The Sandbox Strategy (Safety First)
The most common mistake beginners make when figuring out how to use Claude Cowork is granting too much access too quickly. Do not simply add your entire "Documents" folder.
Cowork operates in a "Sandbox." This means it can only see and touch the specific folders you explicitly add to the workspace.
Best Practice: Create a dedicated folder on your desktop named "Claude Workbench."
- Click "Add Folder to Workspace."
- Select your new "Claude Workbench" folder.
- A permission dialog will appear asking: "Allow Claude Cowork to access files in 'Claude Workbench'?"
- Click "Allow."
By starting with an empty, dedicated folder, you eliminate the risk of the AI accidentally deleting important files while you are still learning how to use Claude Cowork. This is the safest way to experiment.
Step 3: Your First Task – The "Downloads" Clean-Up
To truly understand how to use Claude Cowork, we need to run a live scenario. The classic "Hello World" of this tool is organizing a messy folder.
The Scenario: You have a "Downloads" folder full of PDFs, images, and zip files. The Goal: Sort them into subfolders by type and rename them.
Instructions:
- Move a handful of test files (some images, some PDFs) into your "Claude Workbench" folder.
- In the Cowork text box, type the following prompt:
"Look at the files in this folder. Create three subfolders named 'Images', 'Docs', and 'Archives'. Move the files into their respective folders based on file type. Then, rename the images to include today's date."
- Hit Enter.
What Happens Next: Unlike standard Claude, which would just write text telling you what to do, Cowork will display a "Planning" status.
- It scans the file list.
- It proposes a plan: "I will create 3 folders, move 2 .jpg files to 'Images', move 1 .pdf to 'Docs', and rename the .jpgs."
- It asks for your confirmation.
Click "Run Plan." You will see the files move in real-time in your Finder window. Watching your computer organize itself is the moment most people finally "get" how to use Claude Cowork.
Put these ideas to work.
From a specific fix to a complete website, we can help you define the scope and get it done.
Discuss my websiteCustom Web & Application DevelopmentShare your goals. We typically reply within 4 hours with questions and practical next steps.
Step 4: Advanced Document Synthesis
Now that you know the basics of how to use Claude Cowork for file management, let’s look at a "knowledge work" use case. Cowork shines when it has to read multiple files to create a new one.
The Scenario: You have 5 PDF reports on "AI Trends in 2026." The Goal: Create a single summary presentation.
Instructions:
- Drop the 5 PDFs into your "Claude Workbench."
- Type: "Read these 5 reports. Identify the top 3 common trends across all of them. Create a new Markdown file named 'Summary_Presentation.md' with a slide-by-slide outline covering these trends."
When learning how to use Claude Cowork, notice that you don't need to upload the files to the chat window. You just point to the folder. Cowork will open each PDF locally, extract the text, analyze the patterns, and generate the new file directly on your hard drive.
Step 5: Using Connectors for Deep Work
Learning how to use Claude Cowork isn't limited to local files. You can connect it to external data sources if you have enabled Connectors in your settings.
If you have the Google Drive connector enabled:
- Type: "Search my Google Drive for 'Q4 Financials'. Download the latest Excel sheet to this folder."
- Once downloaded, follow up with: "Analyze the 'Total Revenue' column and create a new text file summarizing the month-over-month growth."
This hybrid workflow—fetching data from the cloud and processing it locally—is a powerful example of how to use Claude Cowork to bridge the gap between different apps.
Pro Tips for Prompting Cowork
As you master how to use Claude Cowork, your success will depend on your prompting style. "Chat" prompts are different from "Action" prompts.
- Be Explicit with File Names: Don't say "Create a file." Say "Create a file named 'Project_Alpha_v1.docx'." Knowing how to use Claude Cowork effectively means defining the output format clearly.
- Use Sequential Steps: If you want it to do multiple things, number them.
"1. Read the invoice. 2. Rename it to 'Invoice_[Date]'. 3. Move it to the 'Paid' folder." The AI follows numbered lists more reliably than paragraphs of text.
- The "Dry Run" Technique: If you are nervous about a destructive action (like deleting files), add the phrase "Don't take action yet, just list the files you plan to delete." This is a crucial safety tip when learning how to use Claude Cowork.
Troubleshooting and Limitations
Even experts in how to use Claude Cowork run into issues. It is a research preview, after all.
- Rate Limits: Cowork consumes significantly more compute/tokens than standard chat because it is running a continuous loop of "Thought -> Action -> Observation." If you hit a limit, you may be locked out for a few hours.
- File Locks: If you have a Word document open in Microsoft Word, Cowork cannot move or rename it. Always close files before asking Cowork to manipulate them.
- Stuck Agents: Sometimes the agent gets stuck in a loop (e.g., trying to read a corrupt file over and over). If the "Thinking" spinner spins for more than 2 minutes, hit the "Stop" button and refine your prompt.
Conclusion
Learning how to use Claude Cowork is about shifting your mindset from "asking for information" to "delegating tasks." It feels strange at first to watch your mouse cursor move or files disappear and reappear, but this is the future of computing. By following the sandbox method and starting with simple organizational tasks, you can build trust in the agent.
Once you are comfortable, the possibilities are endless. You can automate your taxes, streamline your research, or manage your digital clutter without lifting a finger. For a deeper comparison of how this tool stacks up against the competition, stay tuned for our next post: Claude Cowork vs. OpenAI Operator: Which AI Agent is Right for You?.
Frequently Asked Questions (FAQs)
1. Is there a specific tutorial on how to use Claude Cowork for coding?
While Cowork can handle code files, it is designed for general file management. For heavy coding tasks, we recommend using the CLI-based Claude Code. However, the steps for how to use Claude Cowork remain the same: point it at a code folder and ask it to "Add comments to this script" or "Rename these variables."
2. How long does it take to learn how to use Claude Cowork?
The interface is intuitive. Most users understand the basics of how to use Claude Cowork in under 15 minutes. The learning curve lies in writing good prompts and understanding the safety boundaries of the sandbox.
3. Can I undo changes if I make a mistake while learning how to use Claude Cowork?
Cowork does not have a native "Undo" button (Ctrl+Z) for file system changes yet. However, because it uses your Mac's native file system, moved items can often be found in the folders they came from, and deleted items are sent to the Trash Bin, not permanently erased. This makes learning how to use Claude Cowork much more forgiving.
4. Where can I find official documentation on how to use Claude Cowork?
Anthropic provides a "Getting Started" guide within the app itself. When you first launch the Cowork tab, a tutorial overlay walks you through how to use Claude Cowork basics, including adding folders and running your first agentic loop.
5. Do I need internet access to use it?
Yes. Even though it modifies local files, the "brain" of the agent runs in the cloud. You cannot learn how to use Claude Cowork or run tasks without an active internet connection.
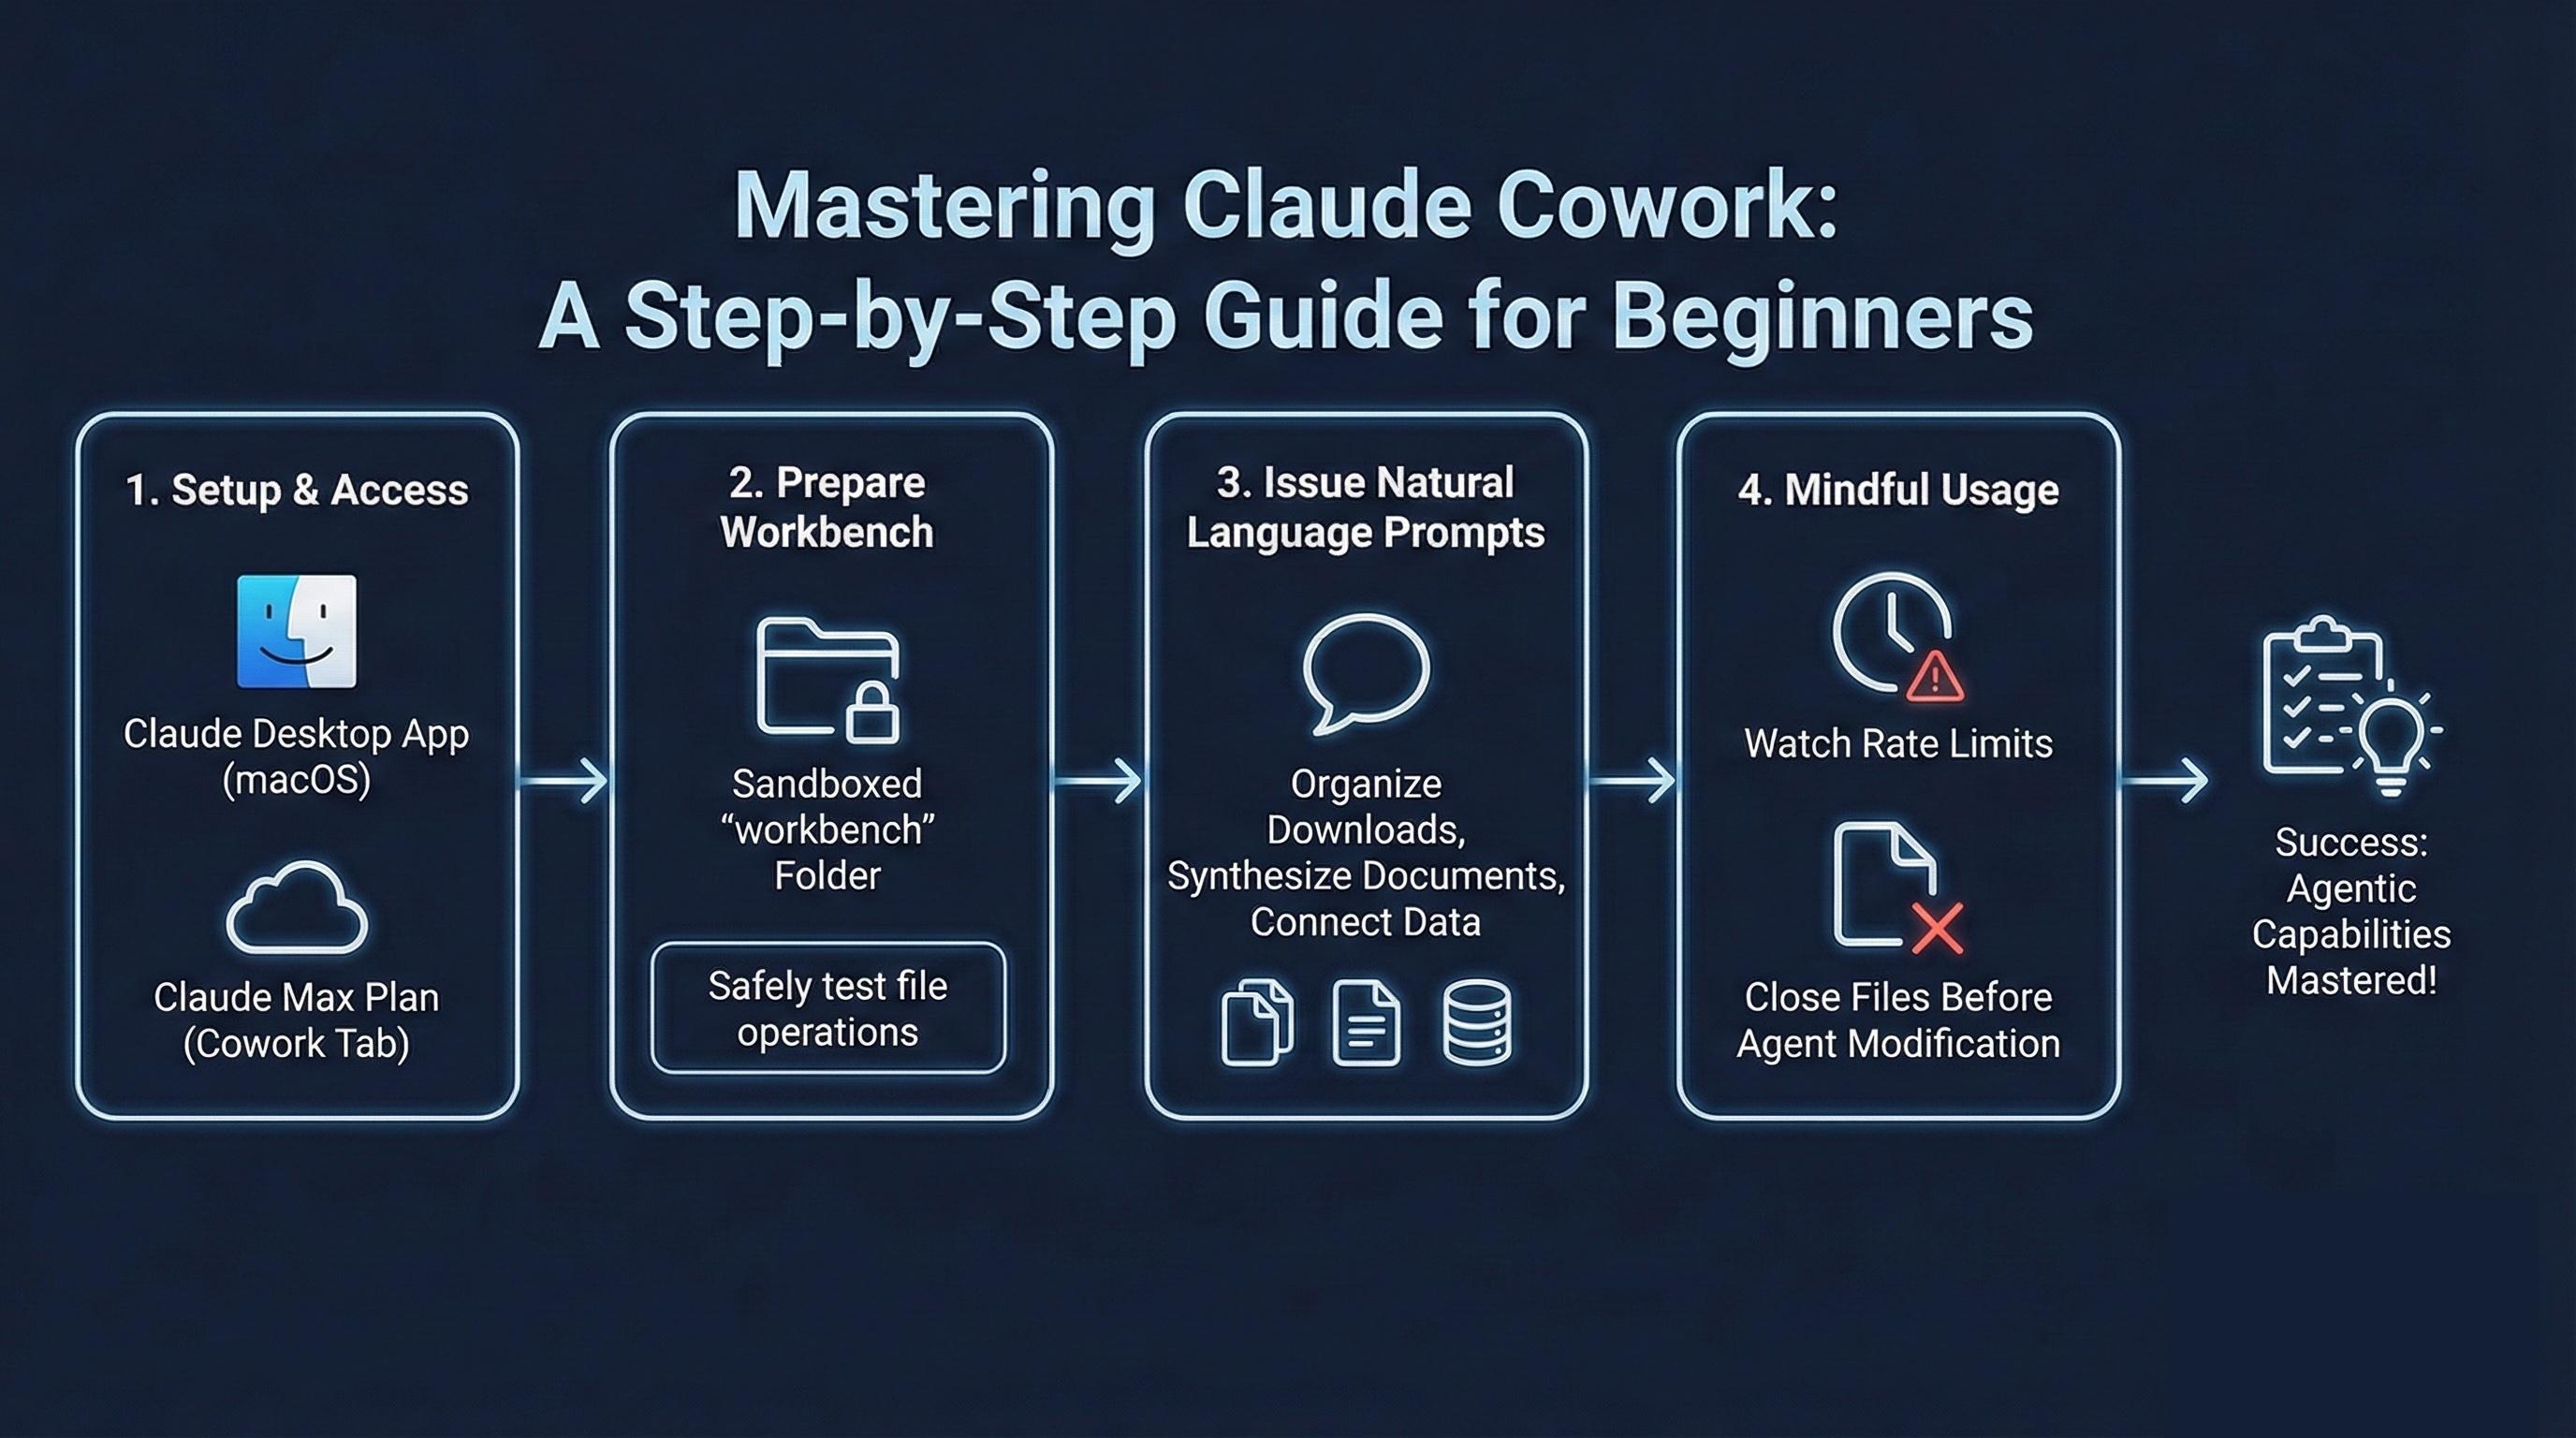
Summary
Mastering how to use Claude Cowork involves understanding its sandboxed environment and agentic capabilities. By installing the Claude Desktop App on macOS and subscribing to the Claude Max plan, users can access the Cowork tab. The key to success is creating a dedicated "workbench" folder to safely test file operations. From there, users can issue natural language prompts to organize downloads, synthesize documents, and connect to external data sources. While the tool is powerful, users must be mindful of rate limits and ensure files are closed before the agent attempts to modify them.